
How to Bulk Schedule Social Media Posts (Step-by-Step Guide)
TL;DR - Quick Answer
8 min readBest times to post and tools to use. Get more engagement.
How to Bulk Schedule Social Media Posts
Bulk scheduling lets you upload and schedule multiple social media posts at once using a spreadsheet (CSV file) instead of creating posts one by one.
This guide covers the exact steps for bulk scheduling on each major platform and third-party tool.
What is Bulk Scheduling?
Bulk scheduling is the process of uploading a spreadsheet (typically CSV format) containing multiple posts, each with:
- Post content (text/caption)
- Date and time to publish
- Platform destination
- Media file links or attachments
Instead of manually creating 30 individual posts, you fill out one spreadsheet and upload it. The scheduling tool creates all 30 posts automatically.
Who should use bulk scheduling:
- Businesses posting 5+ times per week
- Agencies managing multiple client accounts
- Anyone who batches content creation
Create content, post everywhere
Create captions, images, and videos with AI. Schedule to 9 platforms in seconds.
Start your free trial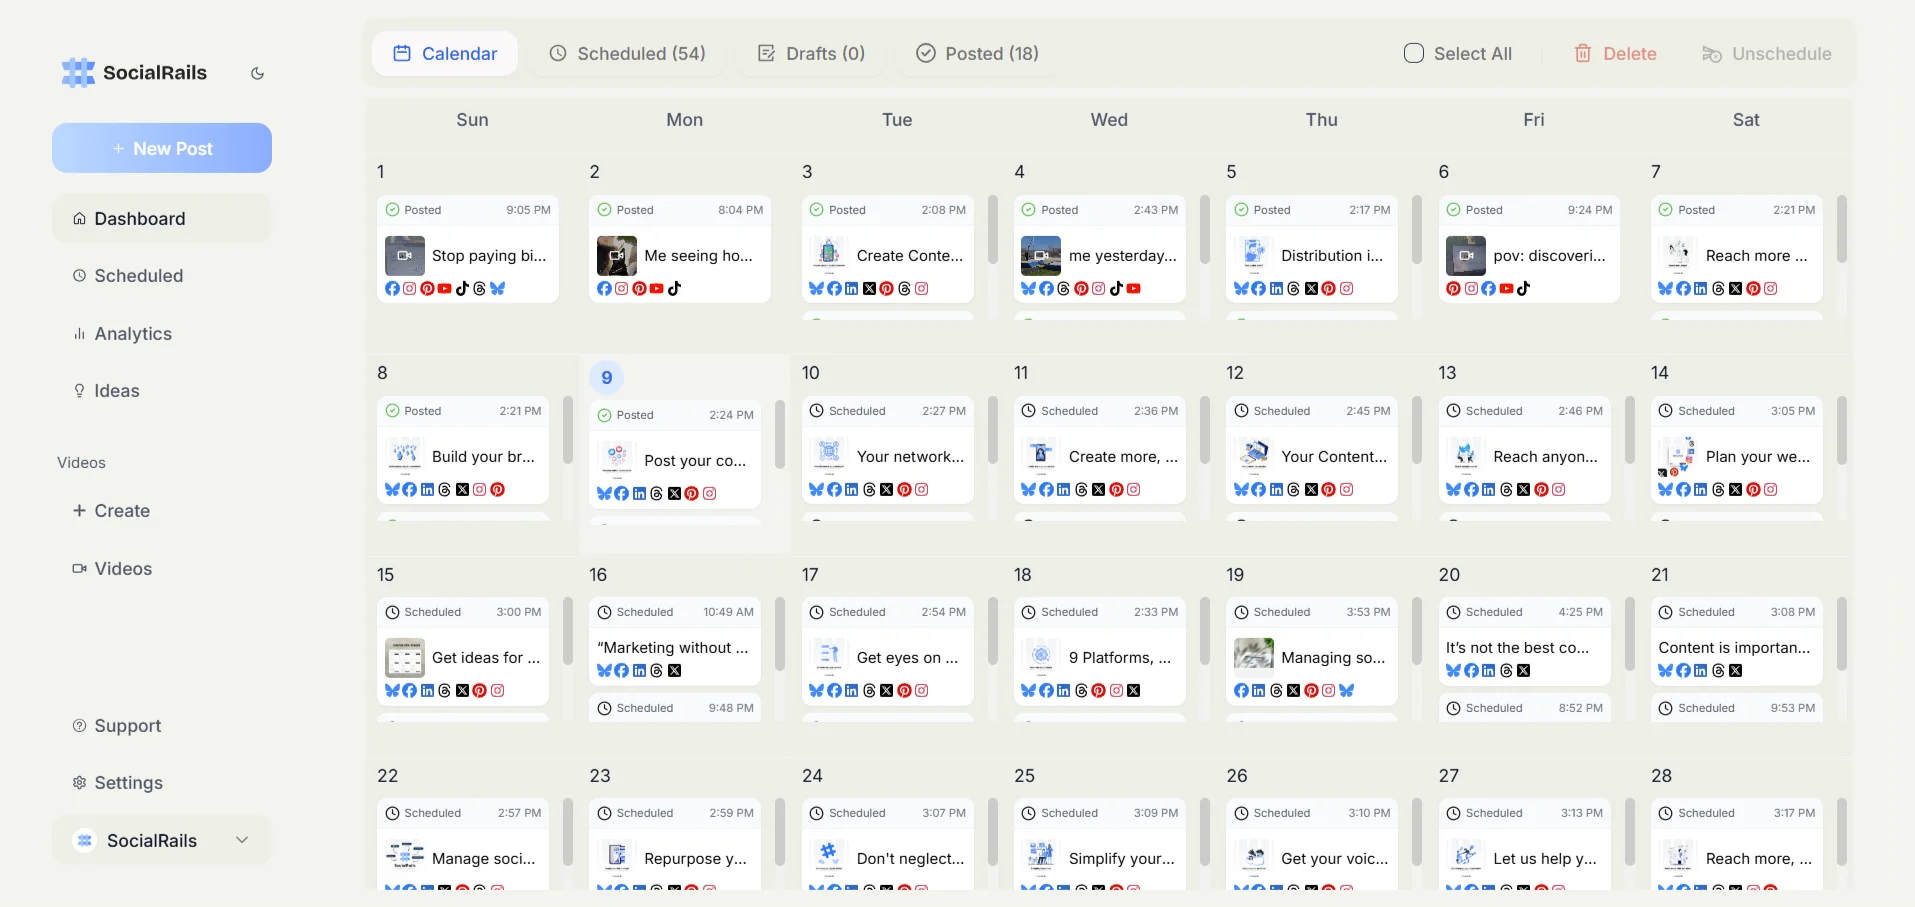
Bulk Scheduling Tools Comparison
How to Bulk Schedule on Meta Business Suite (Free)
Meta Business Suite allows bulk scheduling for Facebook and Instagram - up to 25 posts per upload.
Step 1: Go to business.facebook.com and select your page
Step 2: Click Planner in the left menu, then Bulk upload (or Content → Create → Bulk upload)
Step 3: Download the CSV template by clicking "Download sample file"
Step 4: Open the CSV in Excel or Google Sheets and fill in:
Body: Your post textLink: URL to include (optional)Photo or video URL: Direct link to media fileDate: Format as MM/DD/YYYYTime: Format as HH:MM (24-hour)
Step 5: Save as CSV, upload to Meta Business Suite, and review each post before scheduling
Limitations:
- Maximum 25 posts per upload
- Text-only bulk (images require URLs, not file uploads)
- No Stories or Reels support
How to Bulk Schedule on Buffer
Step 1: Log in to Buffer and go to Publishing
Step 2: Click Add Content → Import from CSV
Step 3: Download Buffer's CSV template
Step 4: Fill in columns:
text: Post contentdate: Schedule date (YYYY-MM-DD)time: Schedule time (HH:MM)profile: Which connected account to post to
Step 5: Upload CSV and Buffer maps each row to a scheduled post
Buffer allows up to 100 posts per CSV upload on paid plans.
How to Bulk Schedule on Hootsuite
Step 1: Go to Planner → Bulk Compose
Step 2: Download the CSV template
Step 3: Fill in the template:
Message: Post text (use %link placeholder for URLs)Date: YYYY/MM/DDTime: 24-hour formatMediaURL: Direct link to image/video
Step 4: Upload CSV, select accounts, and review
Hootsuite supports unlimited bulk uploads but requires a Team plan ($99/month+) for bulk features.
CSV Template Format
Most tools accept this basic structure:
Date,Time,Platform,Content,Media_URL
2026-01-25,09:00,Instagram,"Monday motivation post 💪",https://example.com/image1.jpg
2026-01-25,12:00,Facebook,"Lunchtime question: What are you working on today?",
2026-01-26,10:00,LinkedIn,"Industry insight: Three trends to watch this quarter",https://example.com/chart.png
Important formatting notes:
- Dates: Use YYYY-MM-DD or MM/DD/YYYY (check your tool's requirements)
- Times: Use 24-hour format (14:00 not 2:00 PM)
- Wrap text with commas in quotes
- Media URLs must be publicly accessible direct links
Content Batching Workflow
Instead of creating content daily, batch your content creation:
Weekly batching session (1-2 hours):
- Write all captions for the week in a spreadsheet
- Create or gather all images/graphics
- Add hashtags and mentions
- Fill in your CSV template
- Upload to your scheduling tool
Monthly batching (3-4 hours):
- Plan content themes for each week
- Create 20-30 posts in one session
- Bulk schedule 2-3 weeks at a time
- Leave gaps for timely/trending content
Best Practices for Bulk Scheduling
Do:
- Leave gaps in your schedule for timely/trending content
- Review each post before final scheduling
- Test with 5-10 posts before uploading 50+
- Use consistent image dimensions across posts
- Schedule at your audience's peak times (check analytics)
Don't:
- Schedule more than 2-3 weeks in advance (content gets stale)
- Bulk schedule breaking news or trend-dependent content
- Forget to check posts after they publish
- Use the same caption format repeatedly (varies your content)
Platform-Specific Notes
Instagram: Only business/creator accounts support scheduled publishing. Stories and Reels require third-party tools for bulk scheduling.
Facebook: Bulk upload via Meta Business Suite works for Pages only, not personal profiles.
LinkedIn: Company Pages support bulk scheduling through third-party tools. Personal profiles have limited scheduling options.
TikTok: No native bulk scheduling. Use tools like Later or Hootsuite that support TikTok bulk uploads.
Frequently Asked Questions
How many posts can I bulk schedule at once?
Depends on the tool. Meta Business Suite allows 25 posts per upload. Buffer allows 100. Publer and SocialChamp allow up to 500 posts per CSV upload.
Do I need to pay for bulk scheduling?
Meta Business Suite offers free bulk scheduling for Facebook and Instagram. Most third-party tools require paid plans for bulk upload features.
Can I bulk schedule with images?
Yes, but most tools require image URLs (publicly accessible links) rather than file uploads. Some tools like Later let you bulk upload media files first, then attach them to scheduled posts.
What happens if a bulk scheduled post fails?
Most tools notify you of failed posts. Common issues: invalid media URLs, expired links, or platform API errors. Always review scheduled posts after upload.
Related Tools
- Content Calendar Generator - Plan your posting schedule
- Instagram Caption Generator - Generate captions for bulk posts
- Best Time to Post Calculator - Find optimal posting times
Summary
Bulk scheduling works best when you:
- Choose a tool that fits your needs (free Meta Business Suite for basics, paid tools for advanced features)
- Create a consistent CSV template
- Batch your content creation sessions
- Review posts before scheduling
- Leave room for spontaneous content
Start with 10 posts to test your workflow, then scale up once you're comfortable with the process.
Was this article helpful?
Let us know what you think!