
How to Post on Instagram from Mac: 4 Working Methods (2026 Guide)
TL;DR - Quick Answer
20 min readComprehensive guide with practical insights you can apply today.
Quick Answer: How to Post on Instagram from Mac
The easiest way to post on Instagram from your Mac is using Instagram's web browser interface at instagram.com. You can also use professional scheduling tools like SocialRails for automated posting and advanced features.
4 Working Methods:
Create content, post everywhere
Create captions, images, and videos with AI. Schedule to 9 platforms in seconds.
Start your free trial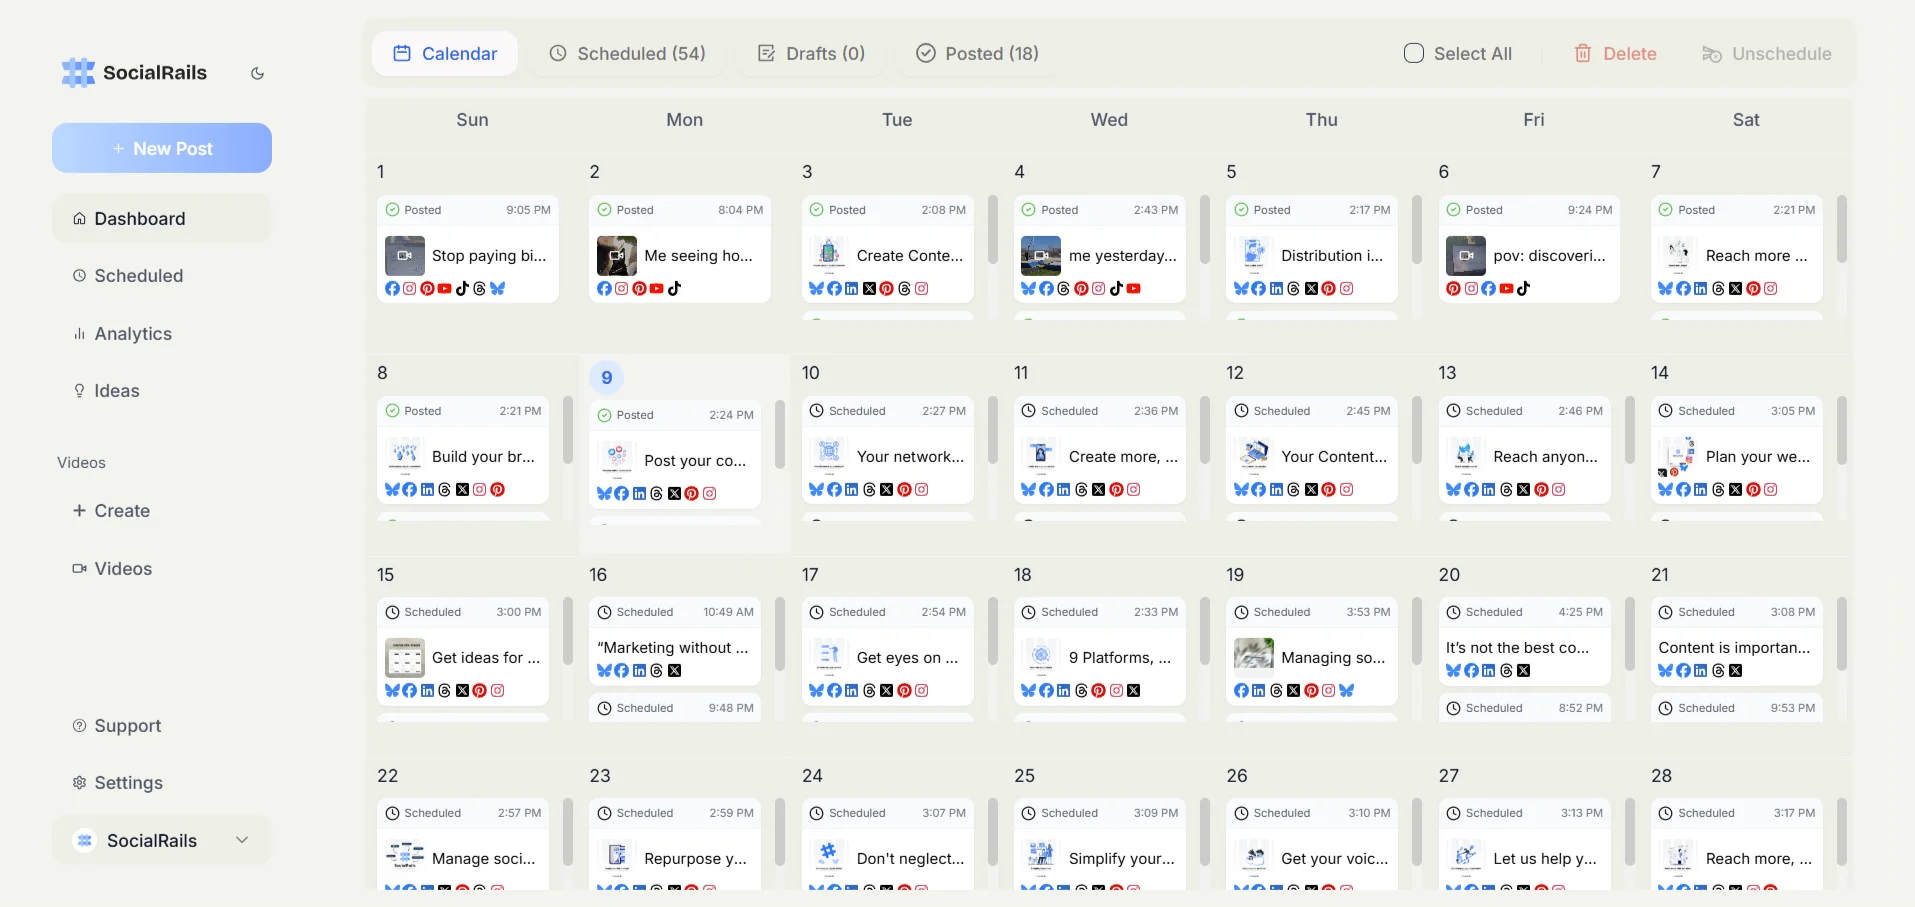
Why Post to Instagram from Mac?
Mac Advantages Comparison Table
Productivity Benefits
- Larger screen for editing
- Better multitasking capabilities
- Access to desktop editing software
- Easier file management
- Professional workflow integration
Business Efficiency
- Batch content creation
- Schedule posts in advance
- Team collaboration features
- Analytics and reporting
- Multi-account management
Content Quality
- Better photo editing capabilities
- Video editing tools
- Graphic design software access
- Higher resolution displays
- Color accuracy
Method 1: Instagram Web Interface (Instagram.com)
Step-by-Step Guide
Step 1: Open Instagram Web
- Open Safari, Chrome, or Firefox on your Mac
- Go to instagram.com
- Log in to your Instagram account
- You'll see the desktop version of Instagram
Step 2: Create New Post
- Look for the "+" (Create) button at the bottom or top of the page
- Instagram web now supports direct posting on desktop (no developer tools needed)
- Click the "+" button
- Select "Post" from the options
- Choose your photo or video file
- Click "Open" to upload
Step 3: Edit Your Post
- Crop and adjust your image
- Apply filters if desired
- Click "Next"
- Write your caption
- Add hashtags and location
- Tag people if needed
Step 4: Publish
- Click "Share" to post immediately
- Your post will appear on your profile
Instagram Web Features
What You Can Do:
- Upload photos and videos
- Add captions and hashtags
- Tag people and locations
- Apply basic filters
- Create carousel posts
- View and respond to comments
- Access Instagram Stories
- Use Instagram Reels
Limitations:
- No advanced editing tools
- Limited filter options
- No scheduling capabilities
- Some features may be missing
- Requires manual posting
Method 2: Third-Party Scheduling Tools (Recommended)
SocialRails - Best Overall Solution
Key Features:
- True auto-posting (no notifications)
- Advanced editing tools
- Content calendar
- Multiple account management
- Analytics and insights
- Team collaboration
How to Use SocialRails:
Step 1: Account Setup
- Sign up at SocialRails.com
- Connect your Instagram business account
- Verify account permissions
- Complete profile setup
Step 2: Create Content
- Click "Create New Post"
- Select Instagram as platform
- Upload your images or videos
- Use built-in editing tools
Step 3: Schedule or Post
- Write your caption
- Add hashtags using hashtag generator
- Choose to post now or schedule
- Select optimal posting time
- Publish or add to queue
Advantages:
- No manual intervention needed
- Professional editing tools
- Bulk scheduling capabilities
- Performance analytics
- Multi-platform posting
Other Popular Tools
Scheduling Tools Comparison
Later
- Visual content calendar
- Auto-publishing for business accounts
- User-generated content features
- Basic editing tools
Buffer
- Simple scheduling interface
- Multi-platform support
- Team collaboration
- Basic analytics
Hootsuite
- Enterprise-level features
- Advanced analytics
- Team management
- Multiple integrations
Method 3: Desktop Instagram Apps
Flume for Mac
Installation:
- Download Flume from Mac App Store
- Install and launch the application
- Log in with Instagram credentials
- Grant necessary permissions
Features:
- Native Mac app experience
- Upload photos and videos
- Full Instagram functionality
- Multiple account support
- Desktop notifications
Limitations:
- Paid app (around $10)
- May have feature delays
- Depends on Instagram API
PolyGram
Features:
- Free desktop Instagram client
- Upload photos from Mac
- View Instagram feed
- Direct messages support
- Multiple account management
Method 4: Browser Developer Tools
Using Safari
Step 1: Enable Developer Tools
- Open Safari preferences
- Go to "Advanced" tab
- Check "Show Develop menu in menu bar"
Step 2: Access Mobile View
- Go to instagram.com
- Click "Develop" in menu bar
- Select "User Agent" > "Safari — iOS"
- Refresh the page
Step 3: Post Content
- Look for the "+" button
- Upload and post as normal
- Switch back to desktop view when done
Using Chrome
Quick Method:
- Go to instagram.com
- Right-click and select "Inspect"
- Click the mobile device icon (top-left)
- Refresh the page
- Use Instagram as if on mobile
Best Practices for Mac Instagram Posting
Image Optimization
Resolution Guidelines:
- Feed posts: 1080x1080px (square) or 1080x1350px (portrait)
- Stories: 1080x1920px (9:16 aspect ratio)
- Reels: 1080x1920px (9:16 aspect ratio)
- IGTV: 1080x1920px minimum
File Format:
- Images: JPG or PNG
- Videos: MP4 or MOV
- Maximum file size: 100MB for videos
- Optimal quality while keeping file size reasonable
Content Creation Workflow
Pre-Production:
- Plan content calendar
- Create content briefs
- Gather assets and resources
- Set up editing workspace
Production:
- Use professional editing software (Photoshop, Final Cut Pro)
- Maintain consistent brand aesthetics
- Create templates for efficiency
- Batch process multiple posts
Post-Production:
- Export in correct formats
- Organize files systematically
- Backup content
- Schedule posting times
Advanced Mac Features for Instagram
Using Mac Photo Editing Software
Adobe Creative Suite:
- Photoshop for photo editing
- Lightroom for batch processing
- Premiere Pro for video editing
- After Effects for animations
Native Mac Software:
- Photos app for basic editing
- Final Cut Pro for video editing
- Motion for graphics
- Keynote for story graphics
Automation Tools
Shortcuts App (macOS):
- Create custom workflows
- Automate file processing
- Batch resize images
- Apply consistent filters
Third-Party Automation:
- Hazel for file organization
- Automator for batch processes
- Keyboard Maestro for complex workflows
Instagram Stories from Mac
Creating Story Content
Design Tools:
- Canva for Mac
- Adobe Spark
- Keynote for presentations
- Photoshop for custom graphics
Story Specifications:
- Size: 1080x1920px (9:16)
- Duration: 15 seconds maximum per story
- File formats: JPG, PNG, MP4, MOV
- Aspect ratio: 9:16 vertical
Story Scheduling
Scheduling Tools:
- SocialRails: Full story scheduling
- Later: Visual story calendar
- Buffer: Basic story posting
- Creator Studio: Facebook's tool
Instagram Reels from Mac
Video Creation
Editing Software:
- Final Cut Pro: Professional editing
- iMovie: Basic editing
- Adobe Premiere Pro: Advanced features
- DaVinci Resolve: Color correction
Reels Specifications:
- Resolution: 1080x1920px minimum
- Duration: 15, 30, 60, or 90 seconds
- Aspect ratio: 9:16 (vertical)
- Format: MP4 or MOV
Content Ideas for Reels
Popular Formats:
- Behind-the-scenes content
- Quick tutorials
- Before and after reveals
- Product demonstrations
- Trending audio challenges
Troubleshooting Common Mac Instagram Issues
Upload Problems
Large File Sizes:
- Compress videos using HandBrake
- Resize images in Preview or Photos
- Use online compression tools
- Check Instagram's file size limits
Format Issues:
- Convert HEIC to JPG using Preview
- Convert MOV to MP4 if needed
- Use QuickTime for format conversion
- Verify files meet Instagram specs
Browser Issues
Instagram Not Loading:
- Clear browser cache and cookies
- Try different browser (Safari vs Chrome)
- Disable browser extensions
- Update browser to latest version
Upload Button Missing:
- Switch to mobile view in developer tools
- Try different user agent settings
- Refresh page after switching modes
- Log out and log back in
Connection Issues
Login Problems:
- Check internet connection
- Verify account credentials
- Clear browser data
- Try incognito/private browsing
Posting Failures:
- Check file format and size
- Verify internet stability
- Try posting at different times
- Contact Instagram support
Mac-Specific Instagram Tools and Apps
File Management
Finder Integration:
- Create Instagram content folders
- Use tags for content organization
- Set up smart folders
- Use Quick Look for previews
Cloud Storage:
- iCloud for automatic syncing
- Dropbox for team collaboration
- Google Drive for sharing
- OneDrive for backup
Productivity Apps
Content Planning:
- Notion for content calendars
- Airtable for content database
- Trello for workflow management
- Monday.com for team planning
Design Tools:
- Sketch for UI design
- Figma for collaborative design
- Canva for quick graphics
- Adobe Creative Cloud suite
Instagram Business Features on Mac
Instagram Business Account Benefits
Advanced Features:
- Detailed analytics and insights
- Contact buttons (call, email, directions)
- Instagram Shopping integration
- Promoted posts and ads
- Story highlights for business
Setting Up Business Account:
- Go to Settings in Instagram
- Select "Switch to Professional Account"
- Choose "Business" category
- Connect to Facebook Page
- Add business information
Analytics and Insights
Key Metrics to Track:
- Reach and impressions
- Engagement rates
- Profile visits
- Website clicks
- Story completion rates
Using Insights:
- Track best posting times
- Monitor audience demographics
- Analyze content performance
- Identify trending hashtags
- Optimize content strategy
Mac Instagram Marketing Strategy
Content Creation Pipeline
Workflow Steps:
- Plan content themes
- Create content in batches
- Edit and optimize for Instagram
- Schedule posts strategically
- Monitor and engage
- Analyze performance
Team Collaboration
Mac Team Tools:
- Shared iCloud folders
- Collaborative editing in Pages
- Screen sharing for reviews
- Time tracking with Toggl
- Project management with Asana
Brand Consistency
Maintaining Visual Identity:
- Create brand templates
- Use consistent color palettes
- Standardize font choices
- Apply uniform filters
- Follow grid layout patterns
Frequently Asked Questions
Can I post to Instagram directly from my Mac browser?
Yes, you can post to Instagram from Mac using Instagram's web interface at instagram.com. You may need to switch to mobile view in your browser's developer tools to access all posting features.
What's the best method to post on Instagram from Mac?
The best method depends on your needs. For occasional posting, use Instagram's web interface. For businesses and content creators, professional scheduling tools like SocialRails offer more features and automation.
Can I schedule Instagram posts from my Mac?
Yes, you can schedule Instagram posts from Mac using third-party tools like SocialRails, Later, Buffer, or Meta Business Suite. Instagram's web interface doesn't offer native scheduling.
Do I need special software to post Instagram Stories from Mac?
No special software is required. You can post Stories using Instagram's web interface, but third-party tools often provide better editing features and scheduling options for Stories.
Can I edit photos on Mac before posting to Instagram?
Yes, Mac offers excellent photo editing options including Photos app, Photoshop, Lightroom, Final Cut Pro for videos, and free alternatives like GIMP. This is actually an advantage of posting from Mac.
What image sizes work best when posting from Mac?
Use 1080x1080px for square posts, 1080x1350px for portrait posts, and 1080x1920px for Stories. Always maintain high quality and ensure your images look good on mobile devices.
Are there limitations when posting from Mac vs mobile?
Some Instagram features may be limited on desktop, such as certain filters and effects. However, you gain advantages like larger screen for editing, better file management, and professional editing software access.
Can I manage multiple Instagram accounts from my Mac?
Yes, most third-party tools allow managing multiple Instagram accounts from Mac. Instagram web also supports account switching, though it's more limited than mobile apps.
Is posting from Mac good for Instagram business accounts?
Yes, posting from Mac is excellent for business accounts. You get access to professional editing tools, better content planning capabilities, and can use business-focused scheduling tools with analytics.
Will my posts look different if uploaded from Mac?
No, posts uploaded from Mac appear identical to mobile uploads in the Instagram feed. The key is ensuring proper image sizing and quality before uploading.
Related Resources
- Best Apps to Schedule Instagram Posts
- How to Schedule Instagram Stories
- Best Fashion Hashtags for Instagram
- Instagram Marketing Strategy
- Best Times to Post on Instagram
- Best Posting Time Calculator
- Instagram Caption Generator
Was this article helpful?
Let us know what you think!