
How to Create a Facebook Business Page in 2026 (Complete Setup Guide)
TL;DR - Quick Answer
22 min readComprehensive guide with practical insights you can apply today.
How to Create a Facebook Business Page in 2026

Creating a Facebook Business Page takes less than 20 minutes—but the setup choices you make determine whether your page attracts customers or sits dormant.
What you'll learn: How to create, optimize, and launch a professional Facebook Business Page that ranks in search results and converts visitors into followers and customers.
Create content, post everywhere
Create captions, images, and videos with AI. Schedule to 9 platforms in seconds.
Start your free trial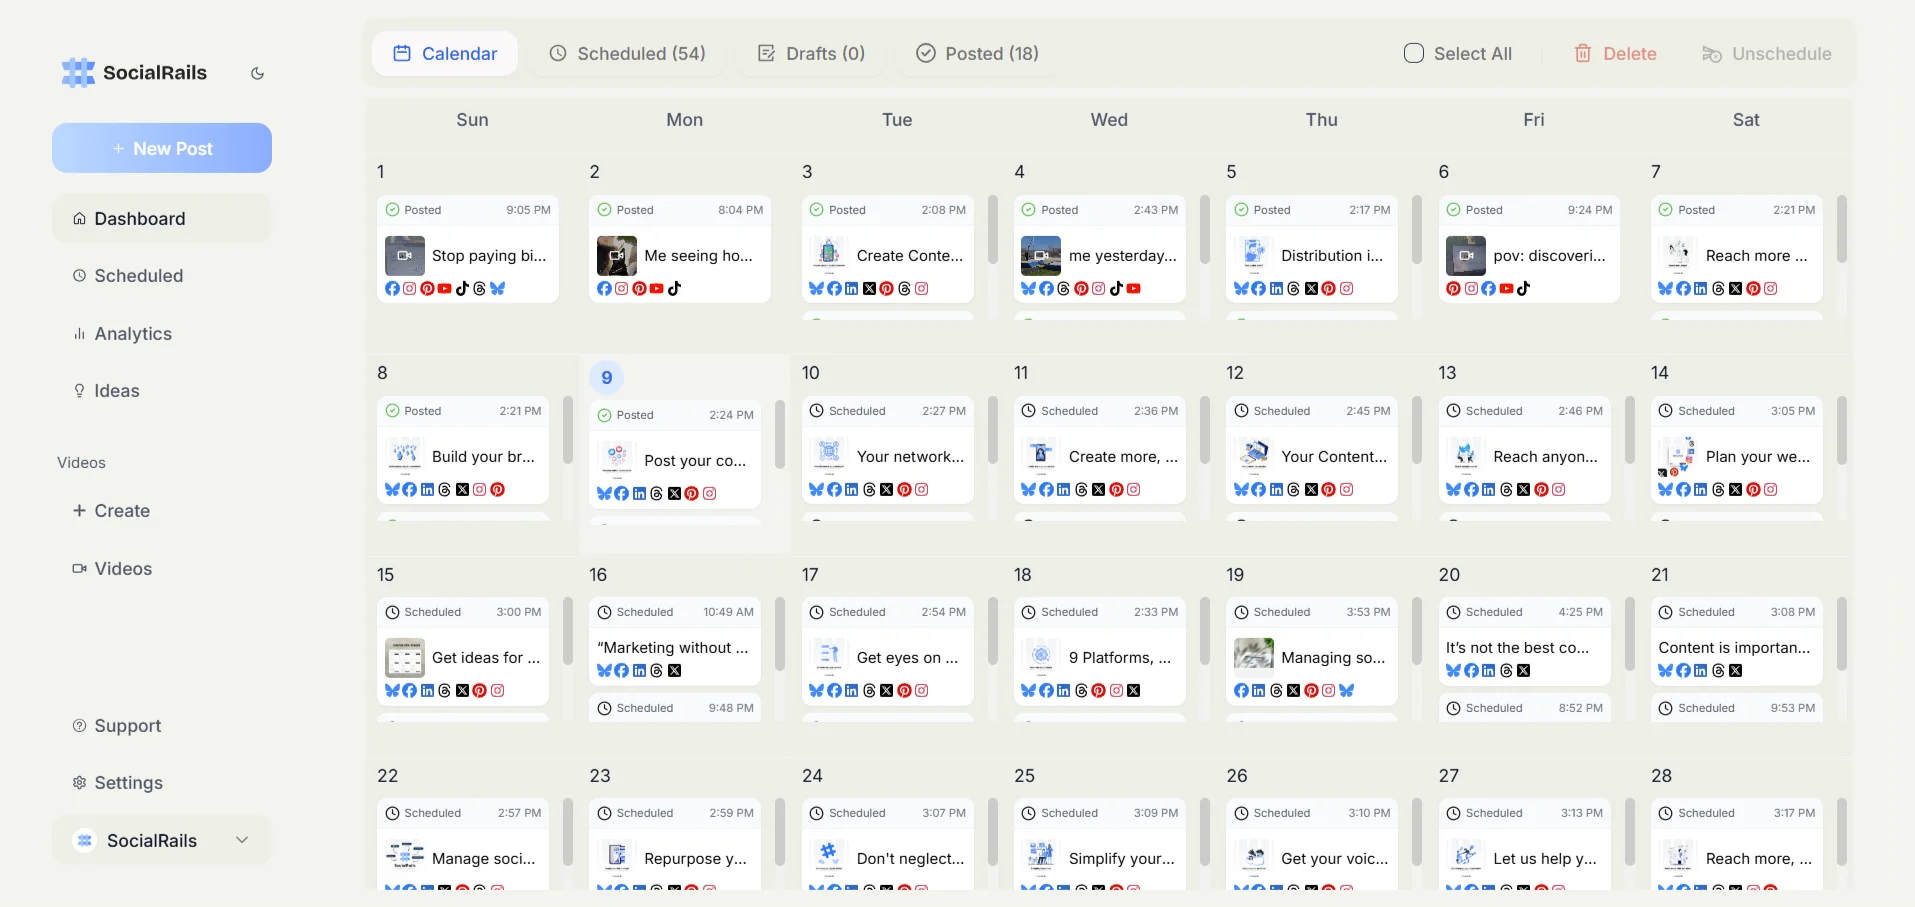
Before You Start: Requirements
What you need:
- Personal Facebook account (required to create any Business Page)
- Business name and category
- Profile picture (recommended: 170x170 pixels)
- Cover photo (recommended: 820x312 pixels)
- Business description and contact information
- Website URL (if you have one)
Note: Your personal profile information stays private. Visitors see your business page, not your personal account.
Step 1: Create Your Facebook Business Page
Access Page Creation
Method 1: Desktop (Recommended)
- Log into Facebook at facebook.com
- Click "Pages" in the left sidebar
- Click "Create New Page" button
- You'll see the page creation form
Method 2: Mobile App
- Open the Facebook app
- Tap the menu icon (three lines)
- Tap "Pages"
- Tap "Create"
- Tap "Get Started"
Enter Basic Information
Page Name
- Enter your business name exactly as it appears legally
- This becomes your page's main identifier
- Can be changed later, but changes require approval
- Avoid special characters and excessive punctuation
Category
- Type your business type in the search box
- Select the most accurate category from suggestions
- You can add up to 3 categories
- Categories affect how people find your page
Common categories:
- Local Business or Place
- Company, Organization, or Institution
- Brand or Product
- Artist, Band, or Public Figure
- Entertainment
- Cause or Community
Bio/Description
- Write 1-3 sentences about your business
- Include what you offer and who you serve
- Maximum 255 characters
- Appears below your page name in search results
Example:
"Award-winning coffee roastery serving specialty beans since 2015. Visit our Brooklyn shop or order online for fresh-roasted delivery."
Click "Create Page" to continue.
Which business category is MOST important to get right?
Step 2: Add Visual Branding
Profile Picture
Specifications (full details in our Facebook profile picture size guide):
- Displays at 170x170 pixels on desktop
- Displays at 128x128 pixels on mobile
- Recommended upload: 512x512 pixels or larger
- Square format works best
- File types: JPG or PNG
What to use:
- Logo (most common and recommended)
- Professional headshot (for personal brands)
- Product shot (for product-focused businesses)
How to add:
- Click the camera icon on the profile picture placeholder
- Choose "Upload Photo"
- Select your image file
- Adjust cropping if needed
- Click "Save"
Cover Photo
Specifications:
- Displays at 820x312 pixels on desktop
- Displays at 640x360 pixels on mobile
- Recommended upload: 1640x624 pixels
- Safe zone: Keep important elements in center
- File types: JPG or PNG (under 100KB loads faster)
What to use:
- Team photo or workspace
- Product showcase
- Customer using your product/service
- Seasonal or promotional graphic
- Brand messaging or tagline
How to add:
- Click "Add Cover Photo" on your page
- Choose "Upload Photo" or "Choose from Photos"
- Adjust positioning by dragging
- Click "Save"
Pro tip: Update your cover photo seasonally or for promotions to keep your page fresh. Running events? Facebook events use different dimensions, see our event cover size guide.
Step 3: Complete Your Page Information
Click "Edit Page Info" in Settings to access all fields.
Contact Information
Phone Number
- Add your main business phone
- Choose whether to display publicly
- Enables the "Call Now" button on mobile
- Add your business email (not personal)
- Appears on your page's About section
- Used for customer inquiries
Website
- Add your full website URL (include https://)
- Creates a clickable link on your page
- Essential for driving traffic
Location & Hours
For physical businesses:
- Enter your complete street address
- Facebook will create a map on your page
- Enable check-ins for customers
- Set your service area if you travel to customers
Business Hours:
- Click "Hours" in Page Info
- Set hours for each day
- Add holiday hours as needed
- "Always Open" or "Temporarily Closed" options available
About Section
Short Description (155 characters)
- Appears in search previews
- Should summarize what you do
- Include primary keyword
Long Description (No limit)
- Detailed explanation of your business
- Include your story, mission, and values
- Add keywords naturally
- Can include formatting with line breaks
Additional Details:
- Founded date
- Products or services offered
- Mission statement
- Company overview
- Awards or recognition
Step 4: Set Up Page Features
Call-to-Action Button
The CTA button appears prominently below your cover photo.
To add:
- Click "Add a Button" on your page
- Choose your button type:
- Book Now – Links to booking service
- Contact Us – Opens message or form
- Shop Now – Links to website or Facebook Shop
- Sign Up – Links to newsletter or registration
- Learn More – Links to website
- Send Message – Opens Facebook Messenger
- Call Now – Calls your phone number
- Configure the destination
- Click "Save"
Recommendation: "Send Message" or "Contact Us" for service businesses; "Shop Now" for e-commerce.
Page Templates
Facebook offers pre-configured templates optimized for different business types.
How to change:
- Go to Settings → Templates and Tabs
- Click "Edit" next to current template
- Browse available templates:
- Standard – Default balanced layout
- Shopping – Product-focused with Shop tab
- Services – Highlights services and booking
- Business – Professional with reviews emphasis
- Venues – Event-focused layout
- Restaurants & Cafes – Menu and ordering focused
- Nonprofits – Donation button enabled
- Click "Apply Template"
Tabs Customization
Tabs appear in your page navigation.
Common tabs:
- Home (always visible)
- About
- Photos
- Videos
- Reviews
- Community (followers and likes)
- Events
- Shop (if enabled)
- Services
- Offers
To customize:
- Go to Settings → Templates and Tabs
- Toggle tabs on/off
- Drag to reorder visible tabs
- Move important tabs to top
Step 5: Configure Settings
Page Visibility
To make your page public:
- Go to Settings → General
- Find "Page Visibility"
- Select "Page Published"
- Click "Save Changes"
Tip: Keep page unpublished until you've added all content.
When should you publish your Facebook Business Page?
Messaging Settings
To enable Messenger:
- Go to Settings → Messaging
- Enable "Allow people to contact my Page privately"
- Set up instant replies (recommended)
- Configure away messages
Instant Reply setup:
- Toggle on "Send instant replies to anyone who messages your Page"
- Write your greeting message
- Include response time expectation
- Save changes
Example instant reply:
"Thanks for reaching out! We typically respond within 2 hours during business hours. How can we help you today?"
Page Roles (If Adding Team Members)
To add team members:
- Go to Settings → Page Access
- Click "Add New"
- Enter person's name or email
- Select their role:
- Admin – Full control
- Editor – Posting and messaging
- Moderator – Comments and messages only
- Advertiser – Ads only
- Analyst – View insights only
- Click "Add"
For troubleshooting access issues, see our guide to adding Facebook admins.
Step 6: Create Your First Content
Before Going Live
Create at least 3-5 posts before making your page public.
Content ideas for launch:
- Welcome post – Introduce your business
- About post – Share your story or mission
- Product/service showcase – Highlight what you offer
- Team post – Introduce key team members
- Value post – Share a tip or useful information
Creating Your First Post
How to post:
- Click the "Create Post" box on your page
- Choose content type:
- Photo/Video – Most engaging
- Text only – Quick updates
- Link – Share website content
- Event – Promote events
- Offer – Create promotions
- Write your caption
- Add relevant media
- Click "Post"
Need caption ideas? Try our Facebook caption generator.
Content Best Practices
Posting frequency:
- Start with 3-5 posts per week
- Consistency matters more than volume
- Quality over quantity always
Content mix:
- 80% valuable/educational content
- 20% promotional content
- Mix photos, videos, and links
Optimal post times:
- Weekdays: 9 AM, 1 PM, 3 PM
- Weekends: 12 PM - 1 PM
- Test and adjust based on your audience
For a complete posting strategy, see our content calendar guide.
Step 7: Grow Your Page
Invite Friends to Like Your Page
How to invite:
- Go to your Page
- Click "Invite Friends" in left sidebar
- Select friends to invite
- Click "Send Invites"
Note: Only invite people genuinely interested in your business.
What's the best CTA button for a service business?
Cross-Promote Your Page
Where to share:
- Add Facebook link to your website
- Include in email signature
- Add to other social profiles
- Print on business cards and materials
- Mention in email newsletters
- Add QR code linking to your page
Enable Facebook Shop (For E-commerce)
If selling products:
- Go to Settings → Commerce Manager
- Click "Set Up Shop"
- Choose checkout method:
- Checkout on Facebook
- Checkout on your website
- Add products manually or connect catalog
- Configure shipping and payment
For the full walkthrough, see our step-by-step Facebook Shop setup guide.
Optimizing Your Page for Search
Username/Vanity URL
To claim your username:
- Go to Settings → Page Info
- Find "Username"
- Enter desired username (must be unique)
- Click "Create Username"
Your URL becomes: facebook.com/yourusername
Username tips:
- Keep it short and memorable
- Match your business name
- No special characters (underscores allowed)
- Consider adding "official" if name taken
SEO Best Practices
For Facebook search:
- Include keywords in page name (naturally)
- Add keywords to About section
- Use descriptive photo captions
- Enable reviews for social proof
- Post consistently for algorithm favor
For Google search:
- Complete all page information
- Add location for local SEO
- Get customer reviews
- Link from your website
- Share page on other platforms
Common Setup Mistakes to Avoid
Don't do this:
- Creating a personal profile instead of a business page
- Leaving profile/cover photo as default
- Not completing the About section
- Using a personal email for business inquiries
- Publishing before adding any content
- Inviting everyone you know to like your page
- Posting only promotional content
- Ignoring messages and comments
Do this instead:
- Create a proper Business Page (not profile)
- Add professional branded visuals
- Complete every information field
- Set up a business email
- Add 3-5 posts before publishing
- Invite only relevant connections
- Mix valuable and promotional content
- Respond to all engagement promptly
After Setup: What's Next
Connect to Facebook Business Suite
For better management:
- Go to business.facebook.com
- Log in with your Facebook account
- Create a Business Manager account
- Add your new Facebook Page
- Access advanced tools:
- Scheduling and publishing
- Inbox management
- Analytics and insights
- Ads manager
Set Up Meta Pixel (For Advertising)
If you plan to run ads:
- Go to Events Manager in Business Suite
- Click "Connect Data Sources"
- Choose "Web"
- Add your pixel to your website
- Verify installation
For managing your Facebook presence alongside other platforms, explore our social media scheduler guide.
Page Creation Checklist
Use this checklist to ensure your page is complete:
Basic Setup:
- Page created with correct category
- Business name entered correctly
- Profile picture uploaded (logo)
- Cover photo uploaded (high-quality)
- Username claimed
Information Complete:
- Short description written
- Long description/About complete
- Phone number added
- Email address added
- Website URL added
- Location and hours (if applicable)
Features Configured:
- CTA button set up
- Template selected
- Tabs customized
- Messaging enabled
- Instant reply created
Content Ready:
- 3-5 initial posts created
- Team members invited (if applicable)
- Page published
Growth Preparation:
- Connected to Business Manager
- Shared on other channels
- Added to website
Key Takeaways
Creating a Facebook Business Page:
- Use your personal account to create the page (it stays private)
- Choose the most accurate business category
- Complete all information fields for search visibility
- Add professional profile and cover photos
- Set up Messenger for customer communication
- Create content before making page public
- Connect to Business Manager for advanced features
Success factors:
- Complete, accurate business information
- Professional visual branding
- Consistent posting schedule
- Quick response to messages
- Genuine engagement with followers
Your Facebook Business Page is often the first impression potential customers have of your business online. Taking time to set it up properly pays dividends in visibility, credibility, and customer acquisition.
FAQ
Is a Facebook Business Page free?
Yes. Creating and running a Facebook Business Page is completely free. You only pay if you choose to run Facebook Ads or use paid features like boosted posts.
Do I need a personal Facebook account to create a Business Page?
Yes. Facebook requires a personal account to create and manage a Business Page. Your personal profile information stays private and isn't shown on the Business Page.
Can I have multiple Facebook Business Pages?
Yes. There's no limit to how many Business Pages you can create from one personal account. Each page operates independently with its own followers, content, and admin settings.
What's the difference between a Facebook Page and a Facebook Group?
A Page is your public business profile where you post updates and run ads. A Group is a community space where members can all post and discuss. Pages are for broadcasting, Groups are for conversations. Most businesses benefit from having both.
How do I get my first followers on a new Facebook Business Page?
Invite your personal friends and family, share the page in relevant groups, add the link to your website and email signature, cross-promote on your other social media accounts, and post consistently before asking people to follow.
Related Resources:
- Facebook Automation Guide - automate posting and management
- How to Schedule Facebook Posts
- Facebook Target Audience Guide
- Facebook Business Page Categories
- SEO for Facebook Business Pages
- How to Add Admins to Your Facebook Page
- Connect Instagram to Facebook Page
- Social Commerce Guide - sell through social platforms
Related Tools:
- Facebook Caption Generator
- Facebook Content Ideas Generator
- Facebook Page Name Generator
- Facebook Profile Picture Generator
Ready to manage your Facebook Page more efficiently? Try SocialRails for scheduling, analytics, and team collaboration across all your social media platforms.
Create content, post everywhere
Create captions, images, and videos with AI. Schedule to 9 platforms in seconds.
Start your free trialWas this article helpful?
Let us know what you think!